Many organizations are definitely moving away from Active Directory in their environment. We have seen a significant shift to the cloud for any and all infrastructure affecting organizations globally. That is not the case for all though. You still have plenty of organizations that have one reason or another to stick with on premises infrastructure: in part or entirely.
Many organizations that have shifted to the cloud that have technical debt but have moved to the cloud believe it or not are still running a non-insignificant amount of on premises infrastructure. A perfect example being Entra Connect, one of the original driving factors and still one of the most prevalent use cases is to sync Active Directory to Entra ID, or as many of us still call it: Azure Active Directory.
Join me in this beginner friendly guide on setting up an Active Directory environment in a Hyper-V Virtual Machine. Running a local lab environment is not just for the beginner though… Labs are incredibly important tools for all levels of IT professionals. They allow us to test the latest and greatest feature releases or more notably try to replicate an issue that has only progressed our ever creeping balding.
I’m assuming you have some knowledge of Active Directory, and if you don’t, that’s fine. Pause on this for a few moments and do some quick Google-Fu. There are a ton of really incredible YouTube videos around that can teach you the absolute basics before diving headfirst. But, if you’re the kind of person that doesn’t tremble in the face of giants, proceed.
Requirements for Hyper-V and Active Directory
Install Hyper-V
- Open the Start Menu in Windows
- Search for Windows Features
- Click on Turn Windows features on or off
- Select Hyper-V from the list and click OK

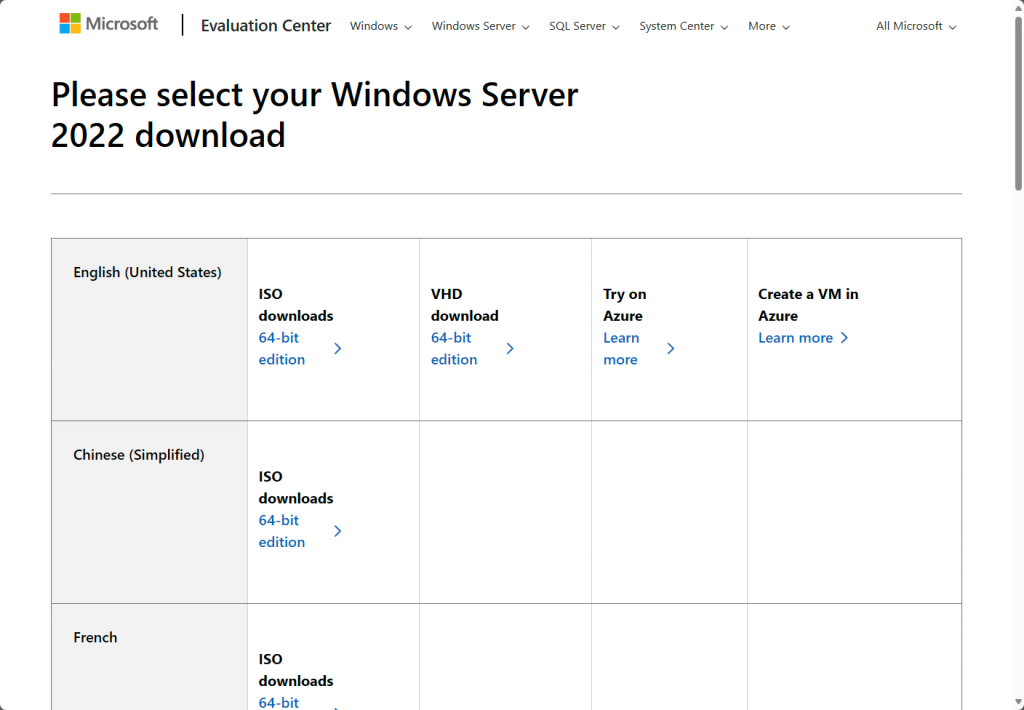
Download the Windows Server 2022 ISO
- Navigate to the Microsoft Evaluation Center
- Click Download the ISO on the Windows Server 2022 page.
- Register for your free trial
Create your Hyper-V Virtual Machine
- Right-click your computer name in Hyper-V
- Hover over New
- Click Virtual Machine
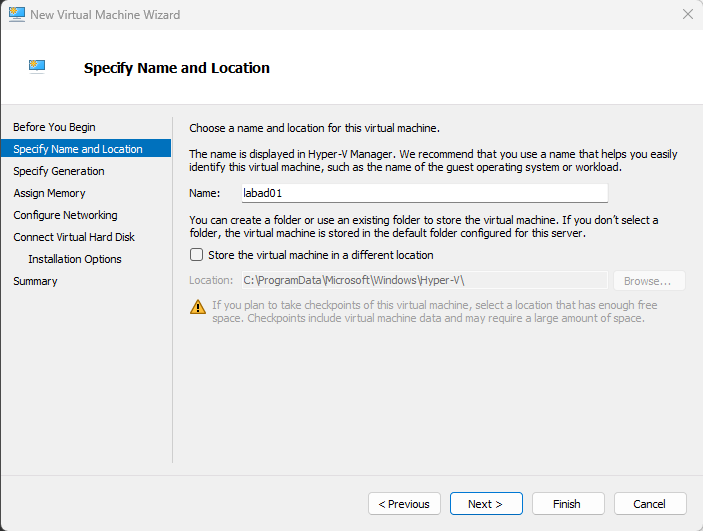
- You should see a Before you begin screen, you can click next.

- Configure the desired name for your VM, I used labad01.
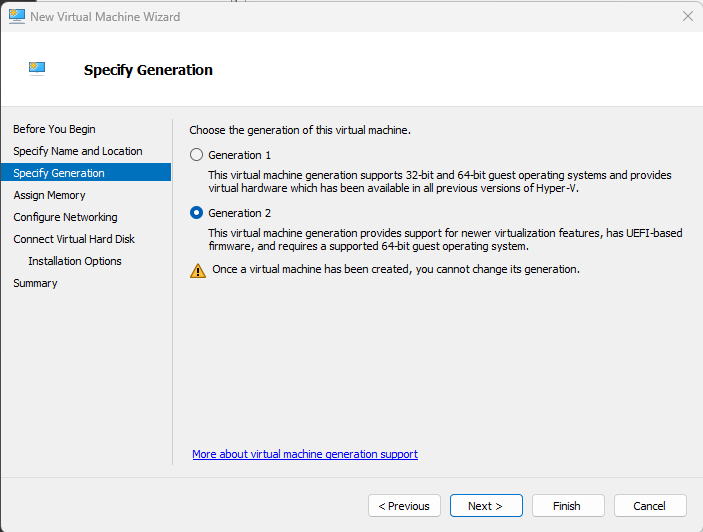
- Select the VM generation you would like to use. For my lab environment I am using Generation 2.
- Allocate the amount of memory you believe it applicable. My recommendation is to keep this around 8 GB.
- Check Use Dynamic Memory for this virtual machine.

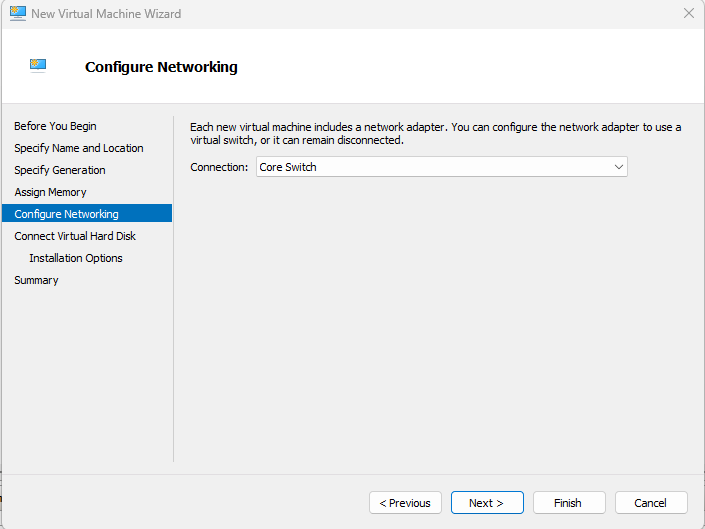
- Select the connection you want this new virtual machine to use. For my lab environment I have a switch called Core Switch.
- For your virtual machine you can use the Default Switch.
- For creating a Virtual Hard Disk you can leave the defaults and proceed by clicking Next.

- Under Installation Options click Install an operating system from a bootable image file
- Select the ISO you downloaded from the Microsoft Evaluation Center earlier.

- You can now connect to your Hyper-V machine.
- If you do not see the Windows installation environment when the VM boots proceed, otherwise skip this next section.
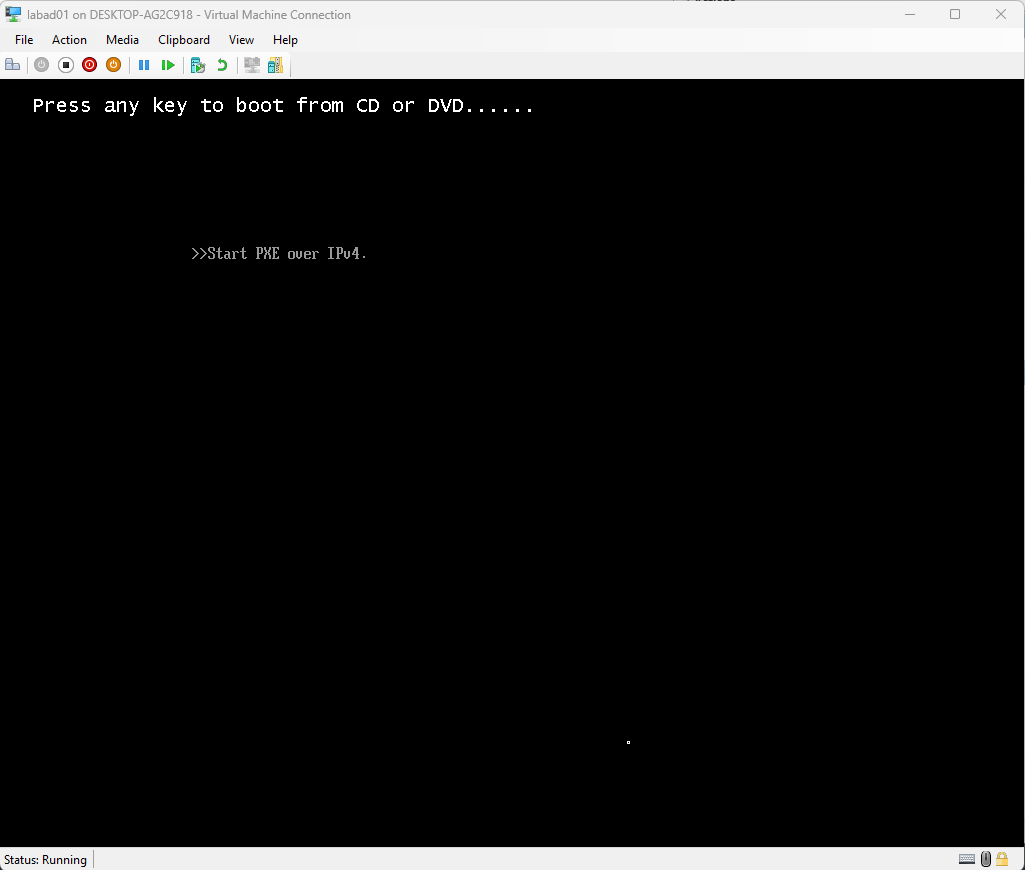
- Click Action and then click Reset
- Start pressing a few random keys.
- Your server should boot into the installation environment.
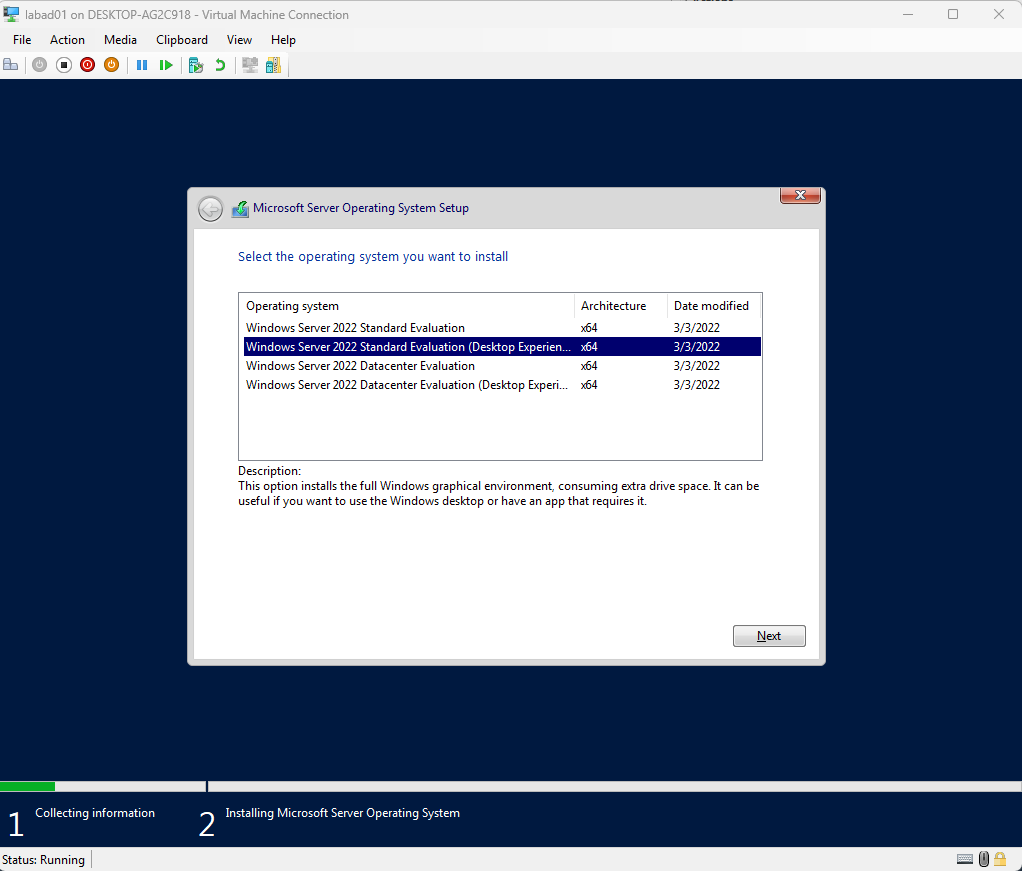
Installing Windows Server on Hyper-V
- Once you reach the System Setup screen you can select Windows Server 2022 Standard Evaluation.
- You can use a custom installation or express.
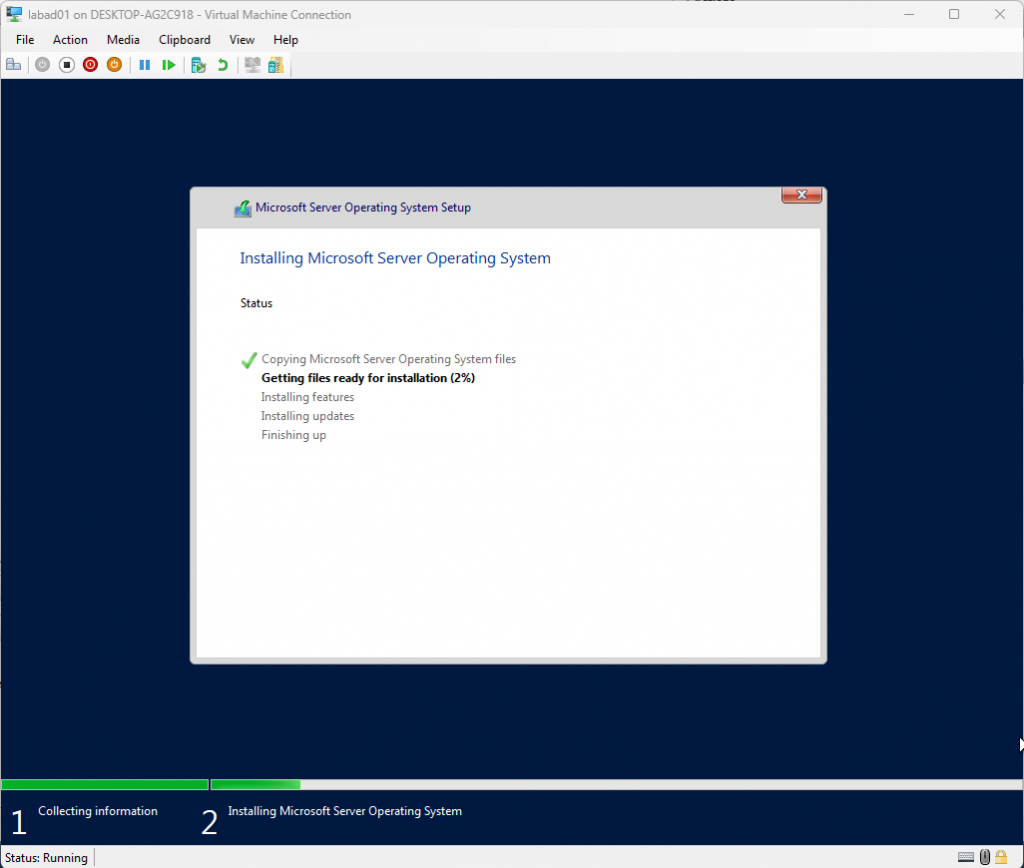
- Once you have made any applicable configurations you can proceed with the Windows install.
- Windows Setup will ask you to create a password for the default Administrator account. Provide a password that you will remember or generate a password and store it in a password manager.

- You can now log in to your Windows Server using the Administrator account with the password you just created.

Create your Active Directory Domain
Now that you have created your virtual machine and installed Windows Server you are ready to create your Windows Active Directory domain.
When you logon Server Manager probably appeared. It if did not open it at this time from the start menu.
You can continue from here.
- Select Add Roles and Features

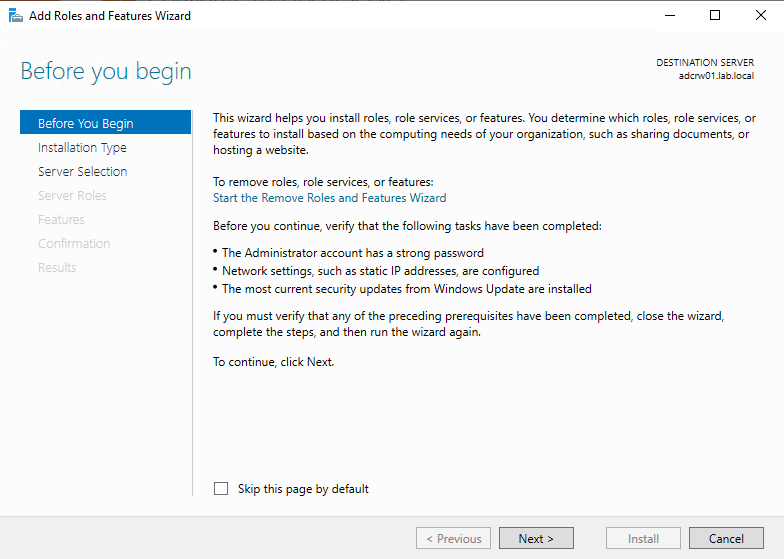
- You can read over the Before You Begin page and click Next whenever you are ready.
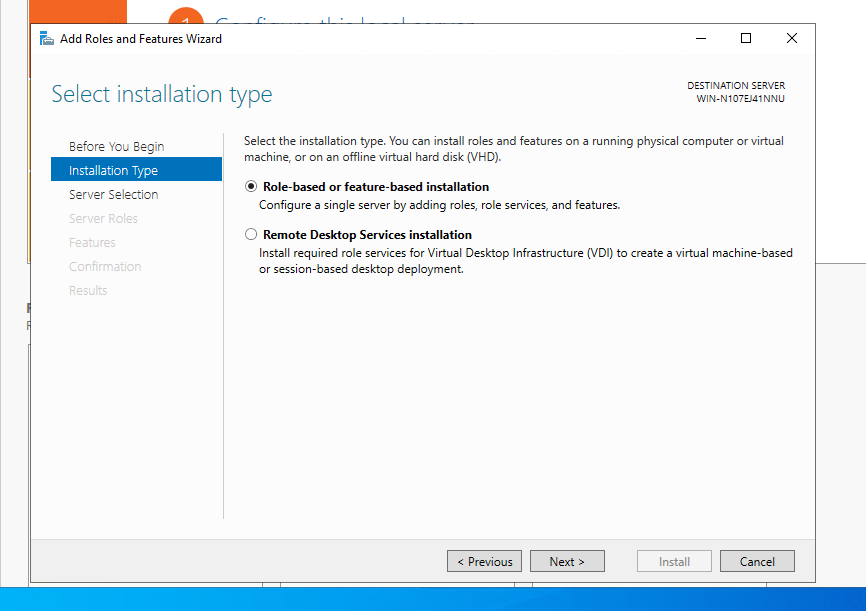
- Select Role-base or feature-based installation
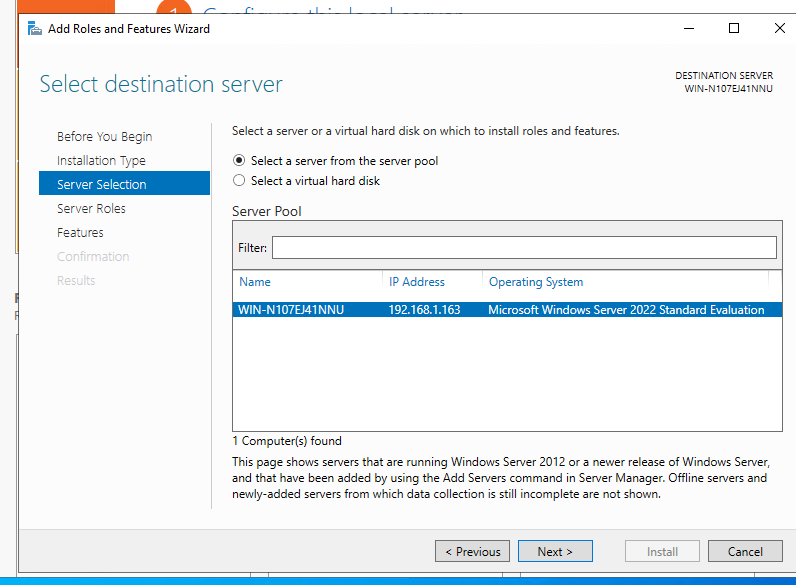
- Your Windows Server Virtual machine will be selected by default.
- If it is not selected by default, select the only item in the Server Pool list.
- Check Active Directory Domain Services from the feature list.
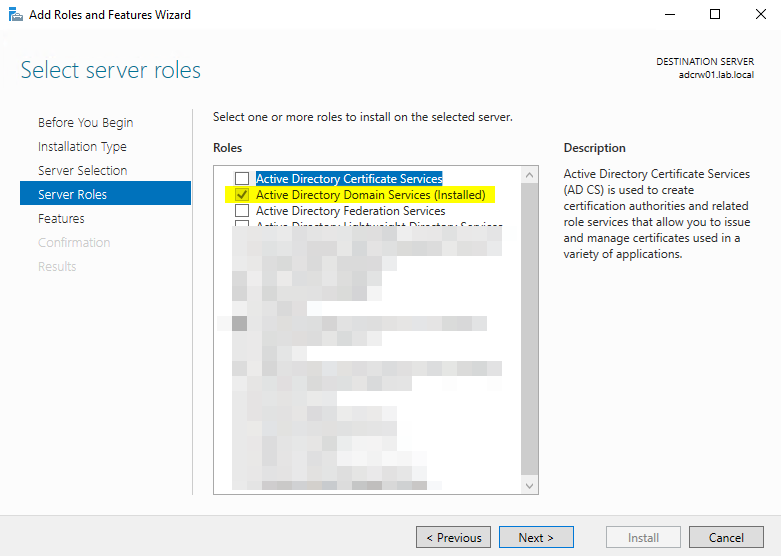
- After clicking next you may see the following prompt below.
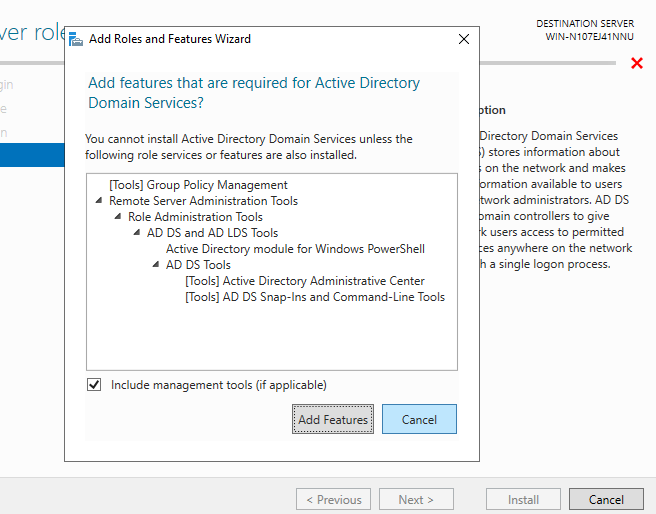
- Click Add Features if you are prompted to add the required Remote Server Administration Tools.
- These tools are useful for managing the various components of both Windows Servers and Windows workstations.
- You can continue to click Next until the installation begins.
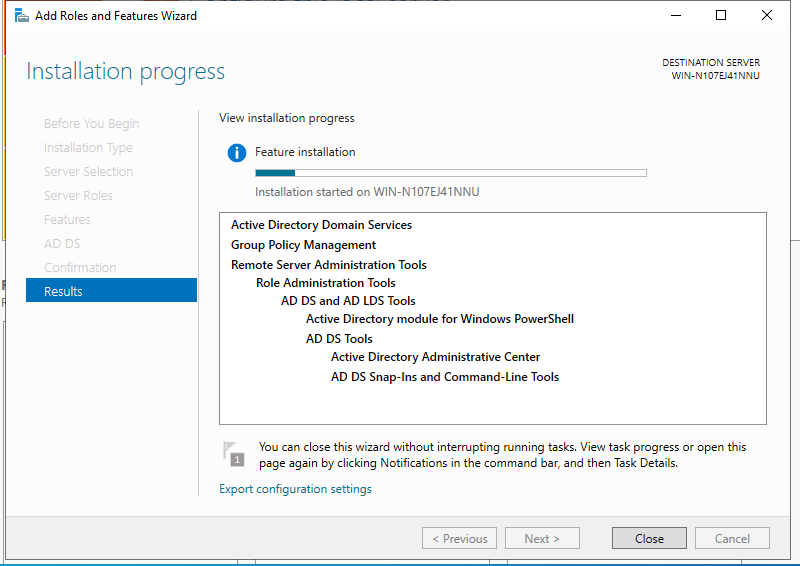
- Active Directory Domain Services (shown as AD DS) will now show in Server Manager.

- Click AD CS to open the Server Manager Pane.
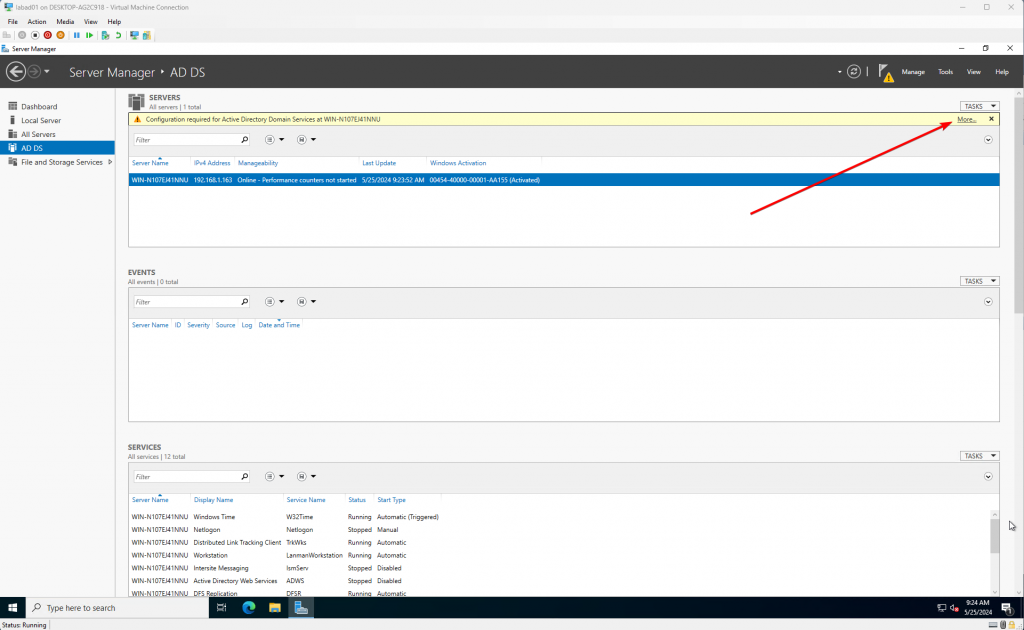
- Click More… in the yellow banner stating Configuration required for Active Directory Domain Services.
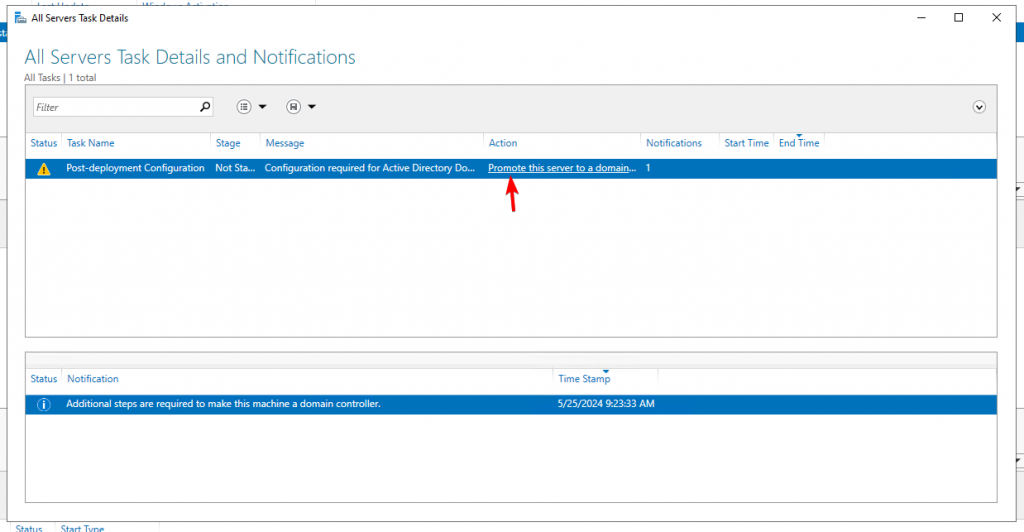
- Click Promote this server to a Domain Controller.
- This allows the Server we just installed AD CS to act as a Domain Controller in our soon to be domain.
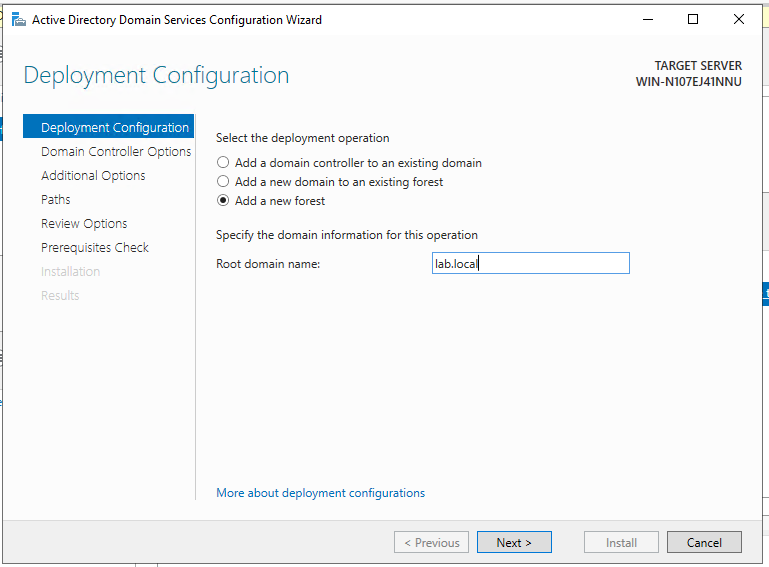
- As we do not currently have a domain we are going to create one.
- Select Add a new forest
- In Root domain name, select a domain name that best fits your needs. For my lab environment, I am calling it lab.local.
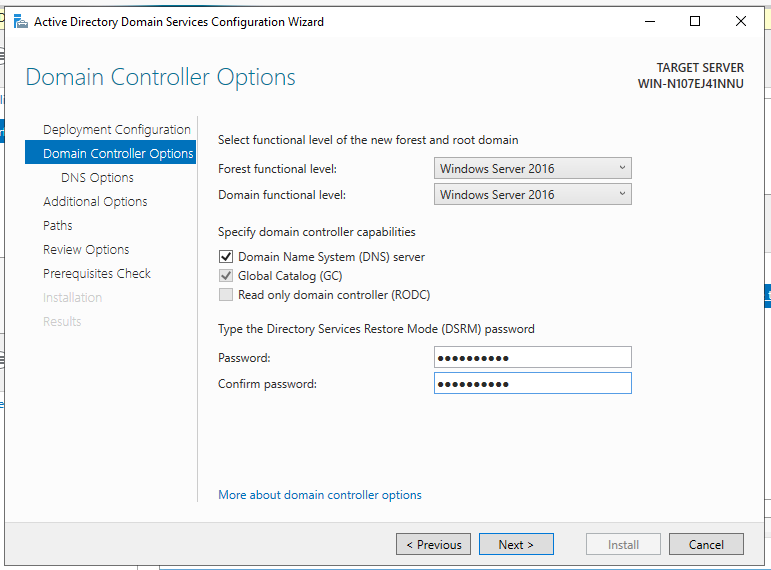
- You can leave the details for Domain Controller options or change them as needed.
- Specify a password for the Directory Restore Mode (DSRM) password.
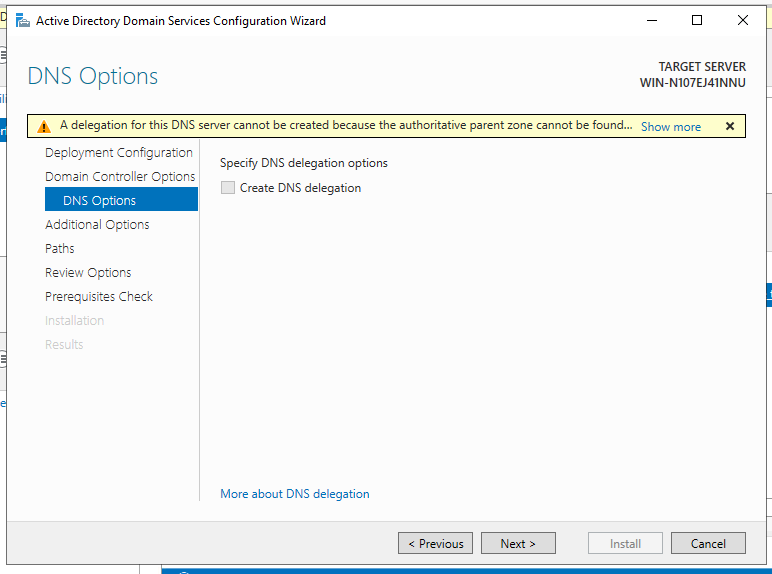
- Click Next on the DNS Options page.
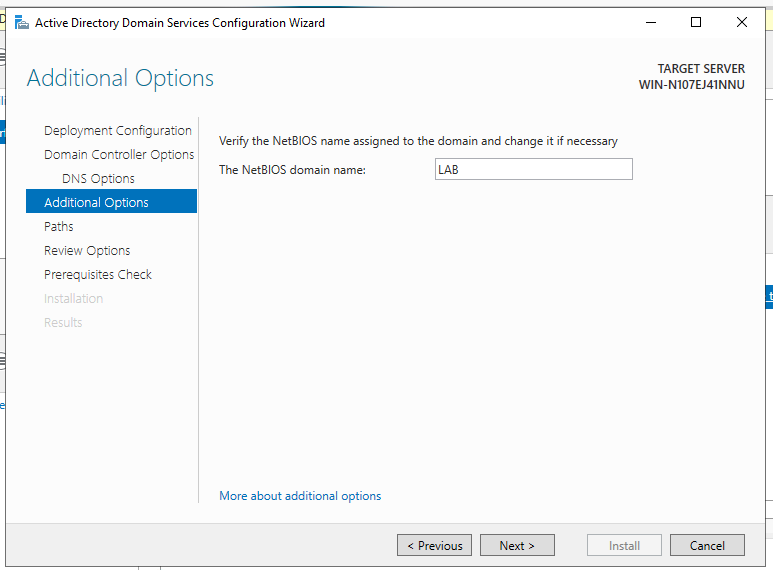
- Click Next on the Additional Options page.

- You can change any relevant paths for Database, Logs, or SYSVOL as needed.
- For this lab we I will be leaving the defaults in place.
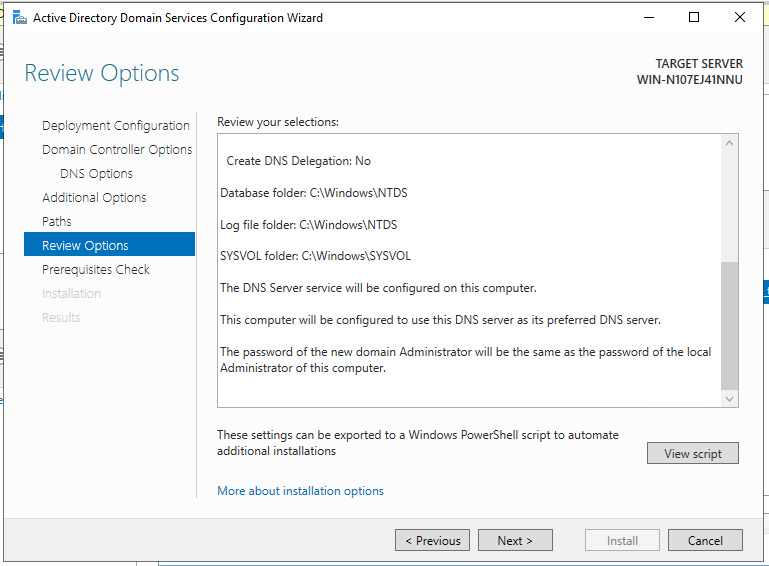
- In the Review Options page, you can review your selections. You can also click View script which will show the relevant PowerShell command.
#
# Windows PowerShell script for AD DS Deployment
#

Import-Module ADDSDeployment
Install-ADDSForest `
-CreateDnsDelegation:$false `
-DatabasePath "C:\Windows\NTDS" `
-DomainMode "WinThreshold" `
-DomainName "lab.local" `
-DomainNetbiosName "LAB" `
-ForestMode "WinThreshold" `
-InstallDns:$true `
-LogPath "C:\Windows\NTDS" `
-NoRebootOnCompletion:$false `
-SysvolPath "C:\Windows\SYSVOL" `
-Force:$true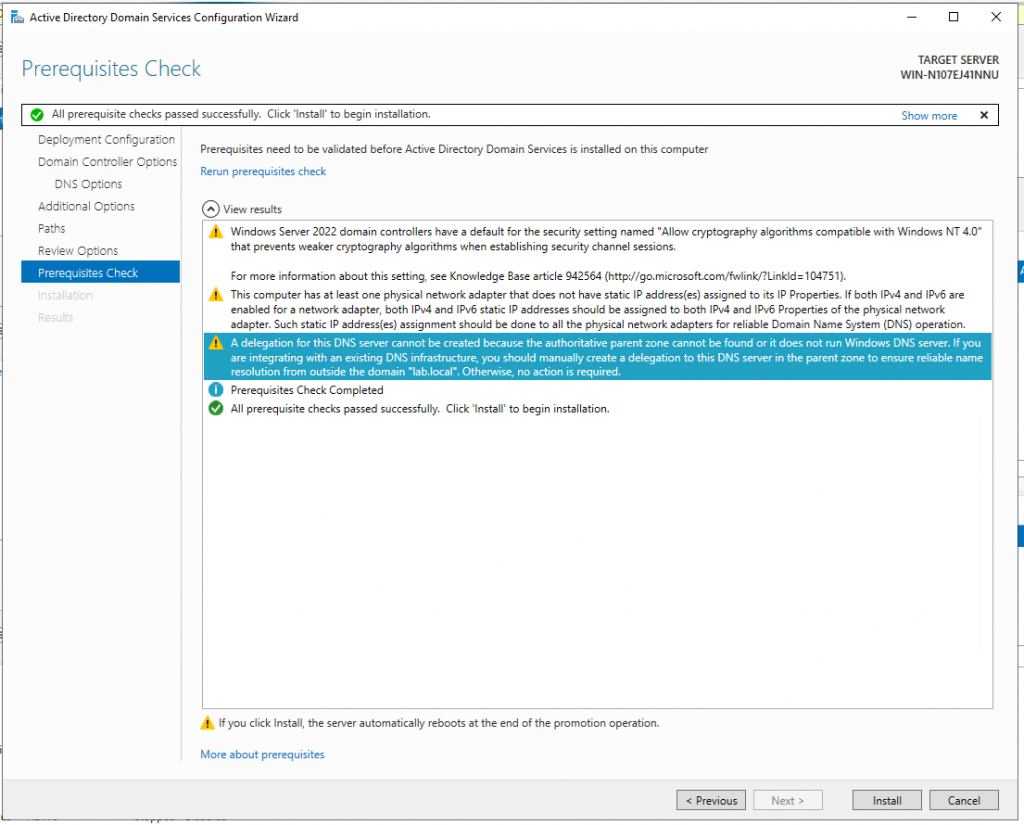
- You will notice some warnings for the Prerequisites Checks.
- We can ignore these for now as they are not strictly applicable to getting our lab initially off the ground. I’ll cover these more in another post later down the line.
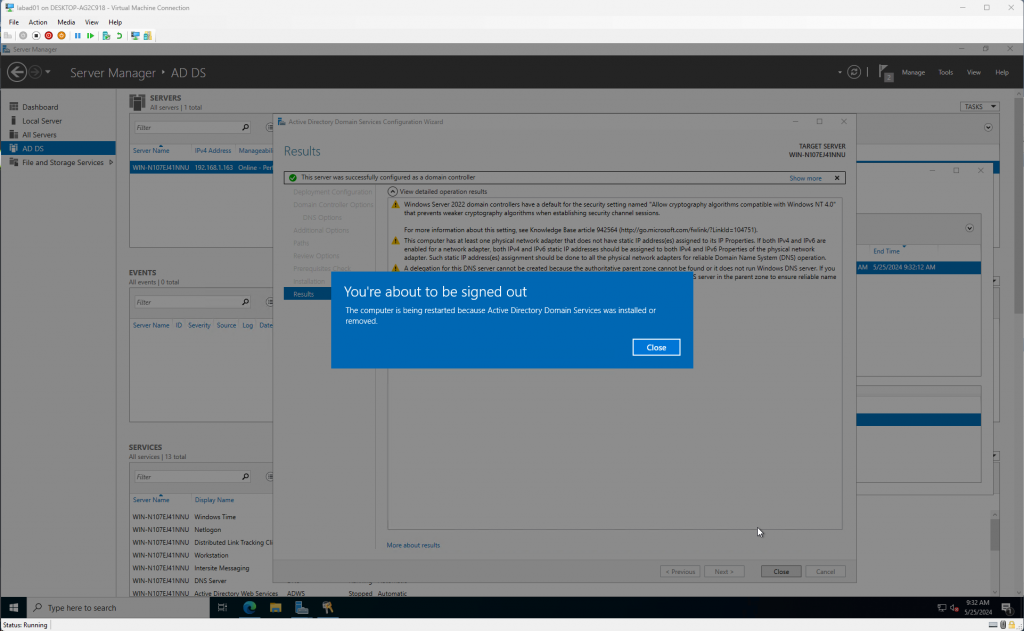
- The virtual machine will reboot during this process.
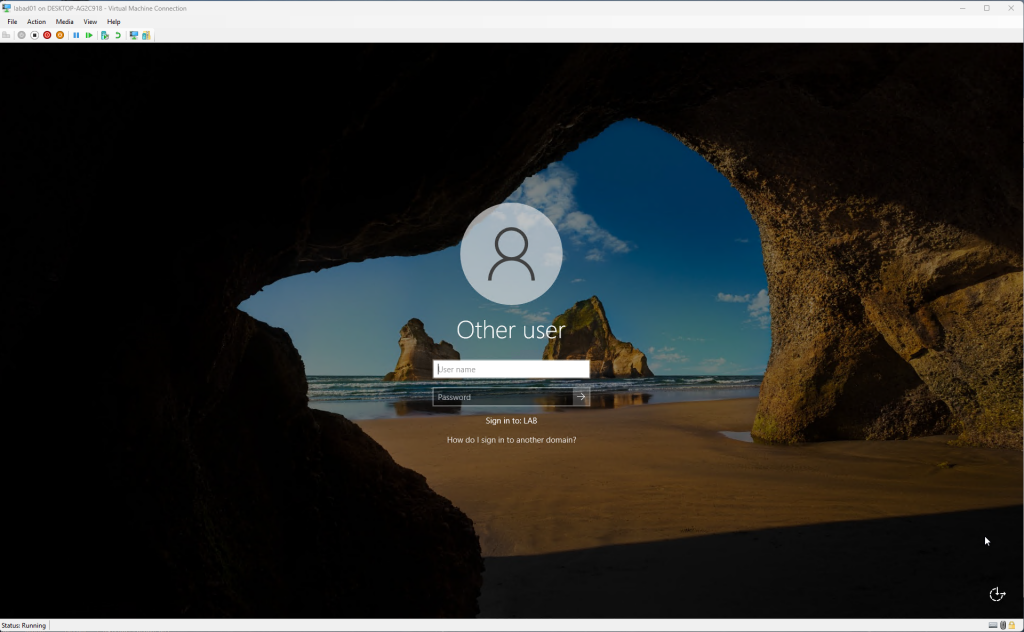
- After the machine has rebooted you can now login to the Virtual Machine using the following credentials:
- Username: Administrator
- Password: YourPassword
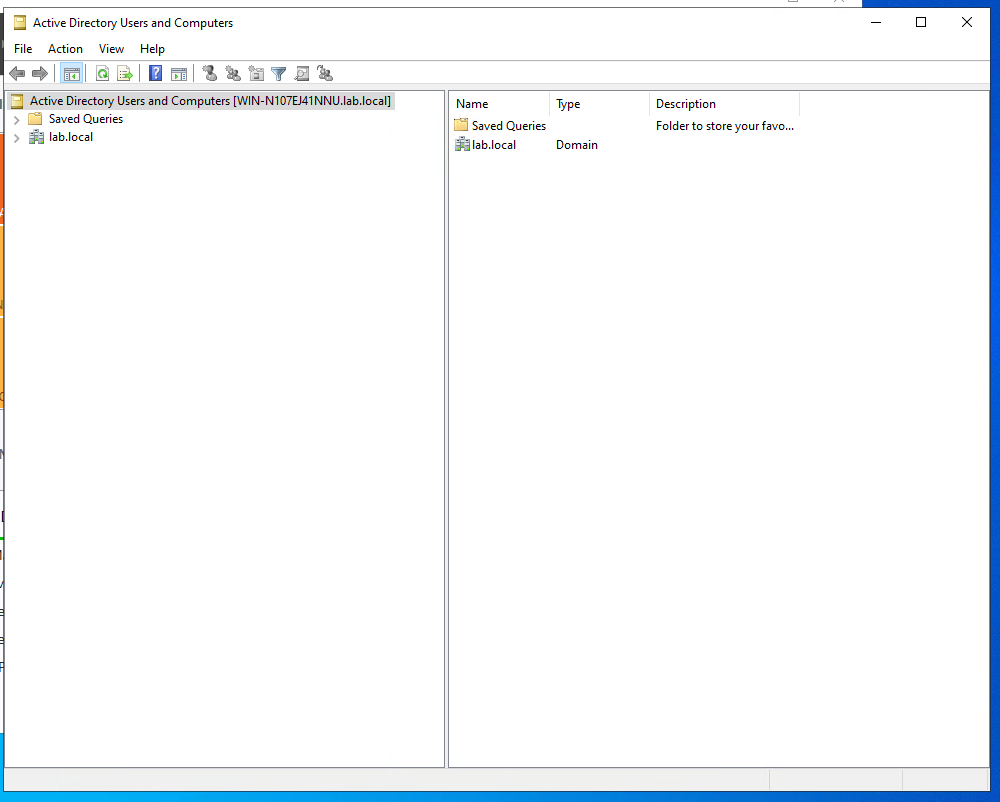
- If you open Active Directory Users and Computers you can see the newly created domain.
- In the screenshot above you can see the domain lab.local that I created.